- Core View
- Canon 7d Mark2 Camera used:
- Pentax DFA 15-30mm f/2.8 Lens used:
- 50mm Focal length:
- f/2.8 Aperture:
- 10 Sec Exposure time:
- 3200 ISO:
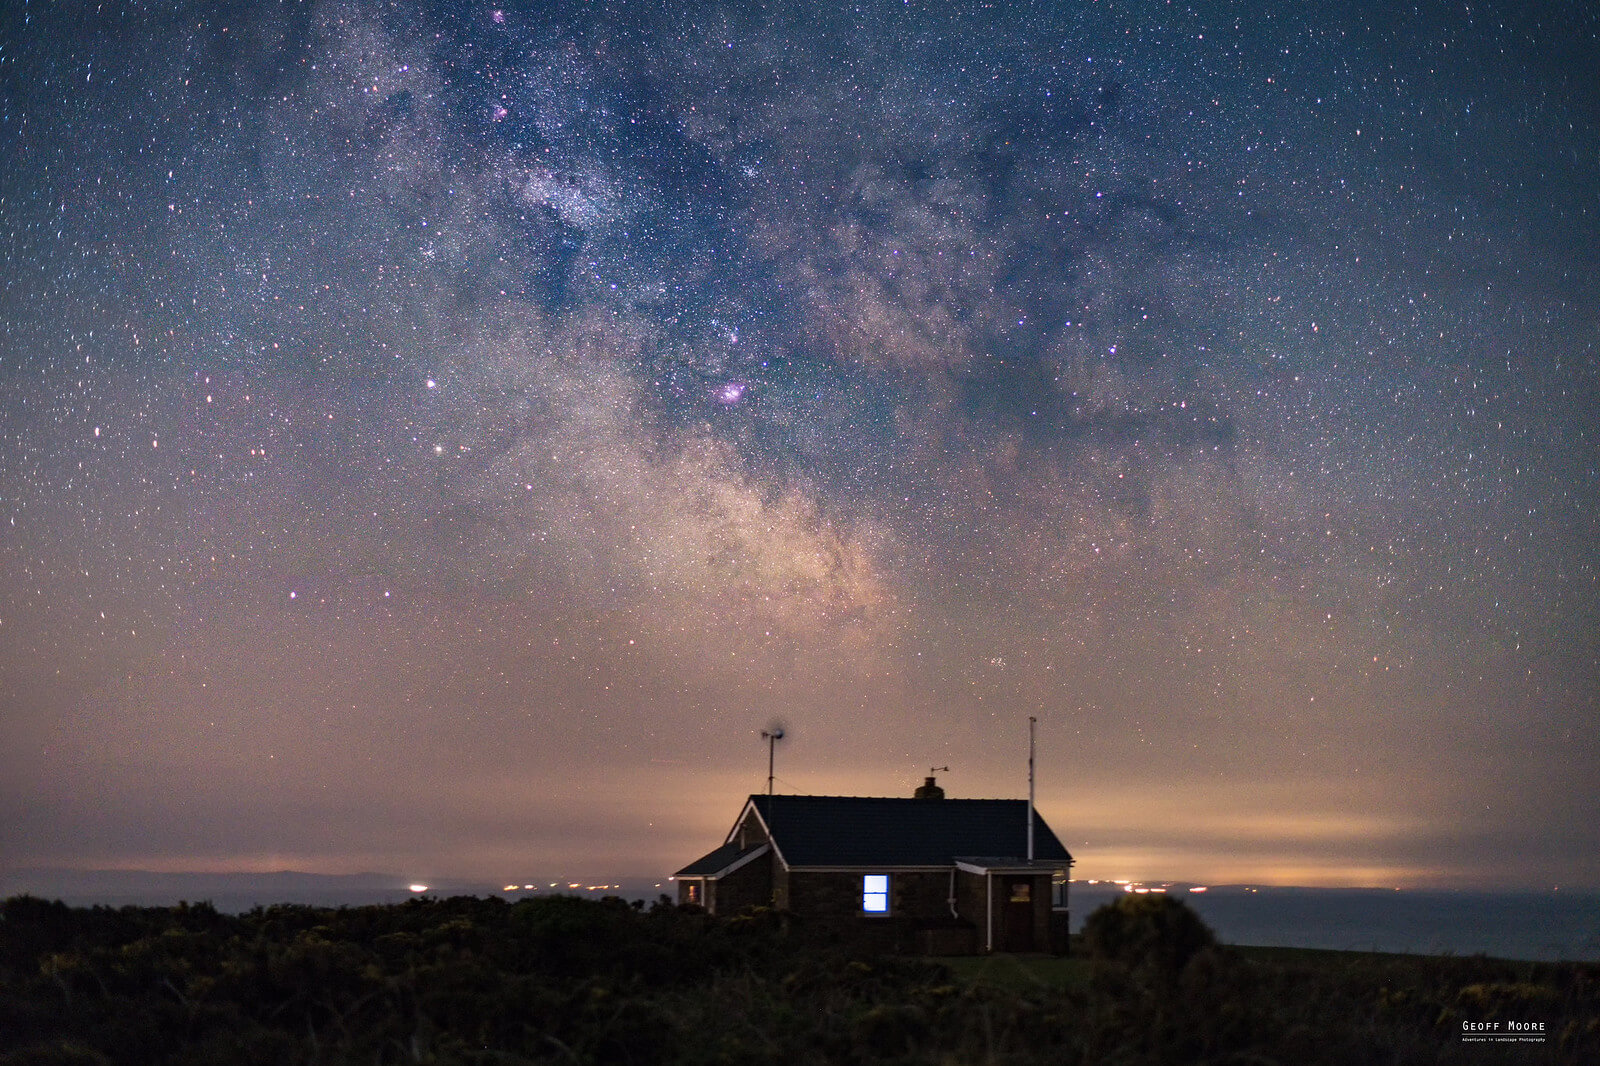
Milky Way Hunting down at Rhossili Bay
Chasing the Milky Way & Hunting the Galactic Core at Rhossili Bay
It's been a long winter and at the forefront of my mind with the advent of spring was hunting for the Galactic Core of the Milky Way. This beautiful jewel of the night sky and the breathtaking band of stars is only visible in the northern hemisphere during the months of late February to the end of October, with the peak of the core being at its highest elevation over the southern horizon around mid July.
Even within these few months the window of opportunity to photography and see the Milky Way and specifically the Galactic Core (GC) is at the mercy of the weather conditions, with the very best viewing conditions around a new moon phase and clear skies and with lesser viewing potential in the 1st and 4th quarter moon phases. I also find shooting after a recent storm within 24/48 hours results in the atmosphere being particularly clear of pollutants.
To make the photography even more challenging, during the peak of the season June/July the hours of total darkness are very limited to one hour or none at all and this makes the chance of capturing the most impressive part of the inner galactic core, restricted to an hour or two at most.
If you’re interested in learning about how to photograph nightscapes, or the Milky Way and the Galactic Core please do get in touch, I'm more than happy to share my knowledge and offer guidance if needed. In fact you never know, I might be adventuring near you one weekend so there would be an opportunity to meet up and I'll be happy to offer advice in person.
Where to See the Galactic Core & Milky Way
Unfortunately, almost all of us who live in the developed world live in or close to an area where there is light pollution is so strong that it adversely affects viewing the night sky and immense wonders above us. In some larger cities like London, Paris, New York the light pollution is so bad that you can only make out the the brightest stars. The faint stars of the Milky Way are not bright enough to pass through the illumination from the cities below. Obviously then, the best way to view the night sky is to get away from the light pollution where at all possible, heading to the countryside or coast and for some that will mean quite a journey but one if the conditions are favourable will never be forgotten.
Mobile Phone & Desktop Apps for Astrophotography
There are several apps and tools online that help you find locations near you and the apparent darker skies they enjoy, perhaps my favorite is Dark Site Finder. In summary the world map presented, and is color coded according to the amount of ambient light pollution each location site in. If you click the link above and navigate to your location on the map. The scale of the light pollution ranges from black & grey (optimal locations for low light pollution) to areas coloured red and white where the light pollution is at its worst. These colours relate to what's known as the Bortle Scale which in essence measures the brightness of the night sky (lower value on the scale equals better viewing). Using the above map you can now find locations with lower light pollution.
In most apps this colour scale as become a standard so if you find your preference is a different resource to Dark Site Finder then the colour scale should still work out. here is a little more info on the Bortle scale and what it means to you the milky way hunter.
The Bortle scale is a nine-level numeric scale that measures the night sky's brightness of a particular location. It quantifies the astronomical observability of celestial objects and the interference caused by light pollution. John E. Bortle created the scale and published it in the February 2001 edition of Sky & Telescope magazine to help amateur astronomers evaluate the darkness of an observing site, and secondarily, to compare the darkness of observing sites. The scale ranges from Class 1, the darkest skies available on Earth, through Class 9, inner-city skies.
The table below summarizes Bortle's descriptions of the classes and what it means for your photography
| Understanding the Bortel Class Scale | |||||
|---|---|---|---|---|---|
| Class | Location | Description | Color | ||
| Class 1 | Excellent dark-sky site |
| Black | ||
| Class 2 | Typical truly dark site |
| Gray | ||
| Class 3 | Rural sky |
| Blue | ||
| Class 4 | Rural/suburban Transition |
| Green/Yellow | ||
| Class 5 | Suburban Sky |
| Orange | ||
| Class 6 | Bright Suburban Sky |
| Red | ||
| Class 7 | Suburban/Urban Transition |
| Red | ||
| Class 8 | City Sky |
| White | ||
| Class 9 | Inner-city sky |
| White | ||
Best Time To See The Milky Way Galactic Core
The Milky Way Core (GC) Galactic Core)) as seen from the Northern hemisphere is only visible in the Southeast, South, and Southwest, during the spring and summer months. In the Southern Hemisphere, the seasons are opposite! So bare that in mind if you're reading this Australia.
Assuming you are located in the Northern Hemisphere the following is a guide to the months of the year and what you can expect to see.
- From Mid Feb, The Milky Way core will rise just before sunrise. So you’ll have to either stay up all night or go to bed early and wake up at 3-4 AM!.
- Start of April, The Milky Way will rise at about midnight, and be visible in the sky for the rest of the night.
- Then, in mid-June, the Milky Way will rise just after sunset, and will be visible all night long.
- In July, the Milk Way will have already risen by the time it gets completely dark and it will set during the night.
- Finally, from August until October, the Milky Way will still be very visible; however, it will set earlier and earlier each night, until in October when there will only be a very brief window of visibility before the Milky Way sets.
- In November, December, and January, the Milky Way core will not be very visible at all. However, the outer band of the Milky Way galaxy will still be visible and does allow for some sky interest in your astro landscape photography even in these late months of the year.
A couple of other tips I feel are worth sharing if you want to get the most out of your Milky Way photography.:
Be aware of the Moon’s phase and location. If a full moon is shining, you can still see the Milky Way but barely. If the position of the moon is directly in front of the core then unfortunately viewing will be near impossible due to the amount of reflected light that bounces of the moon's surface. Did you know on a clear night in some parts of the world devoid of any ambient light pollutions from towns and cities and industry it's possible to read a book by moonlight alone.
Be aware of the weather! Even the faintest amount of cloud cover can almost completely obscure the Milky Way. If possible, try and give yourself at least 2-3 different nights of potential opportunities to see the night sky. Nothing is worse than planning an adventure with only one good night to shoot the stars, and having that one night be cloudy.
Other Images from this adventure
Recent Photography Adventures
Why not read about some of my other photography adventures around the UK