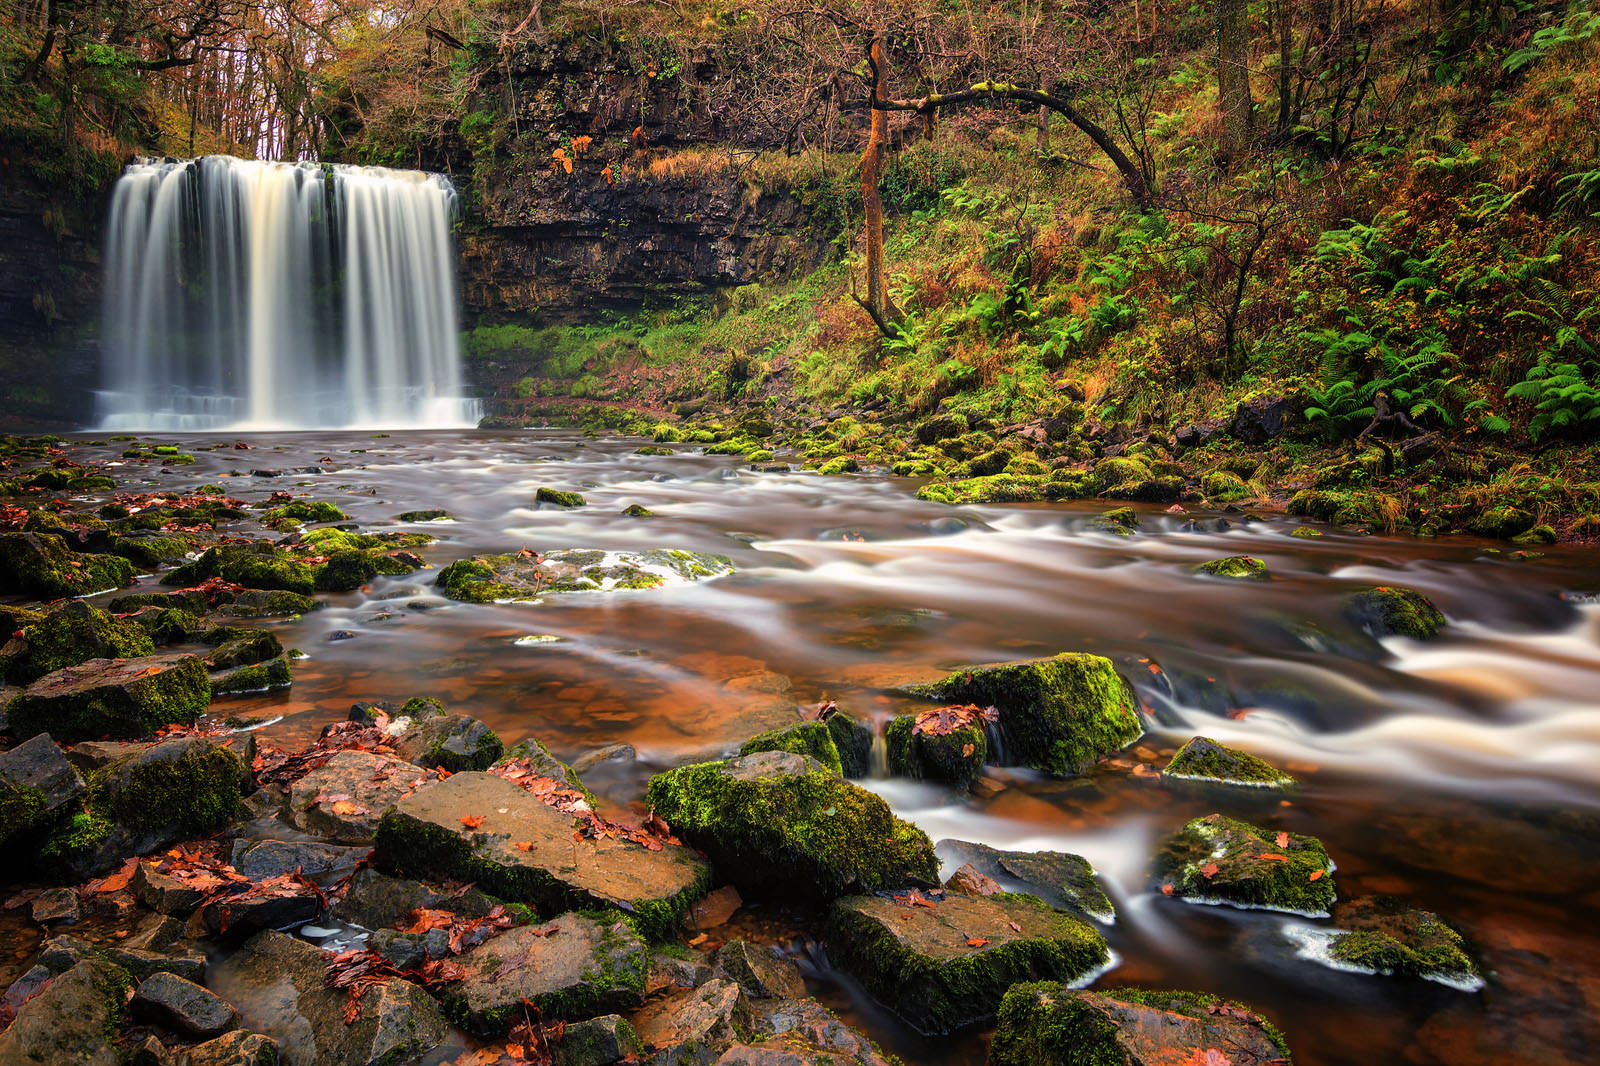
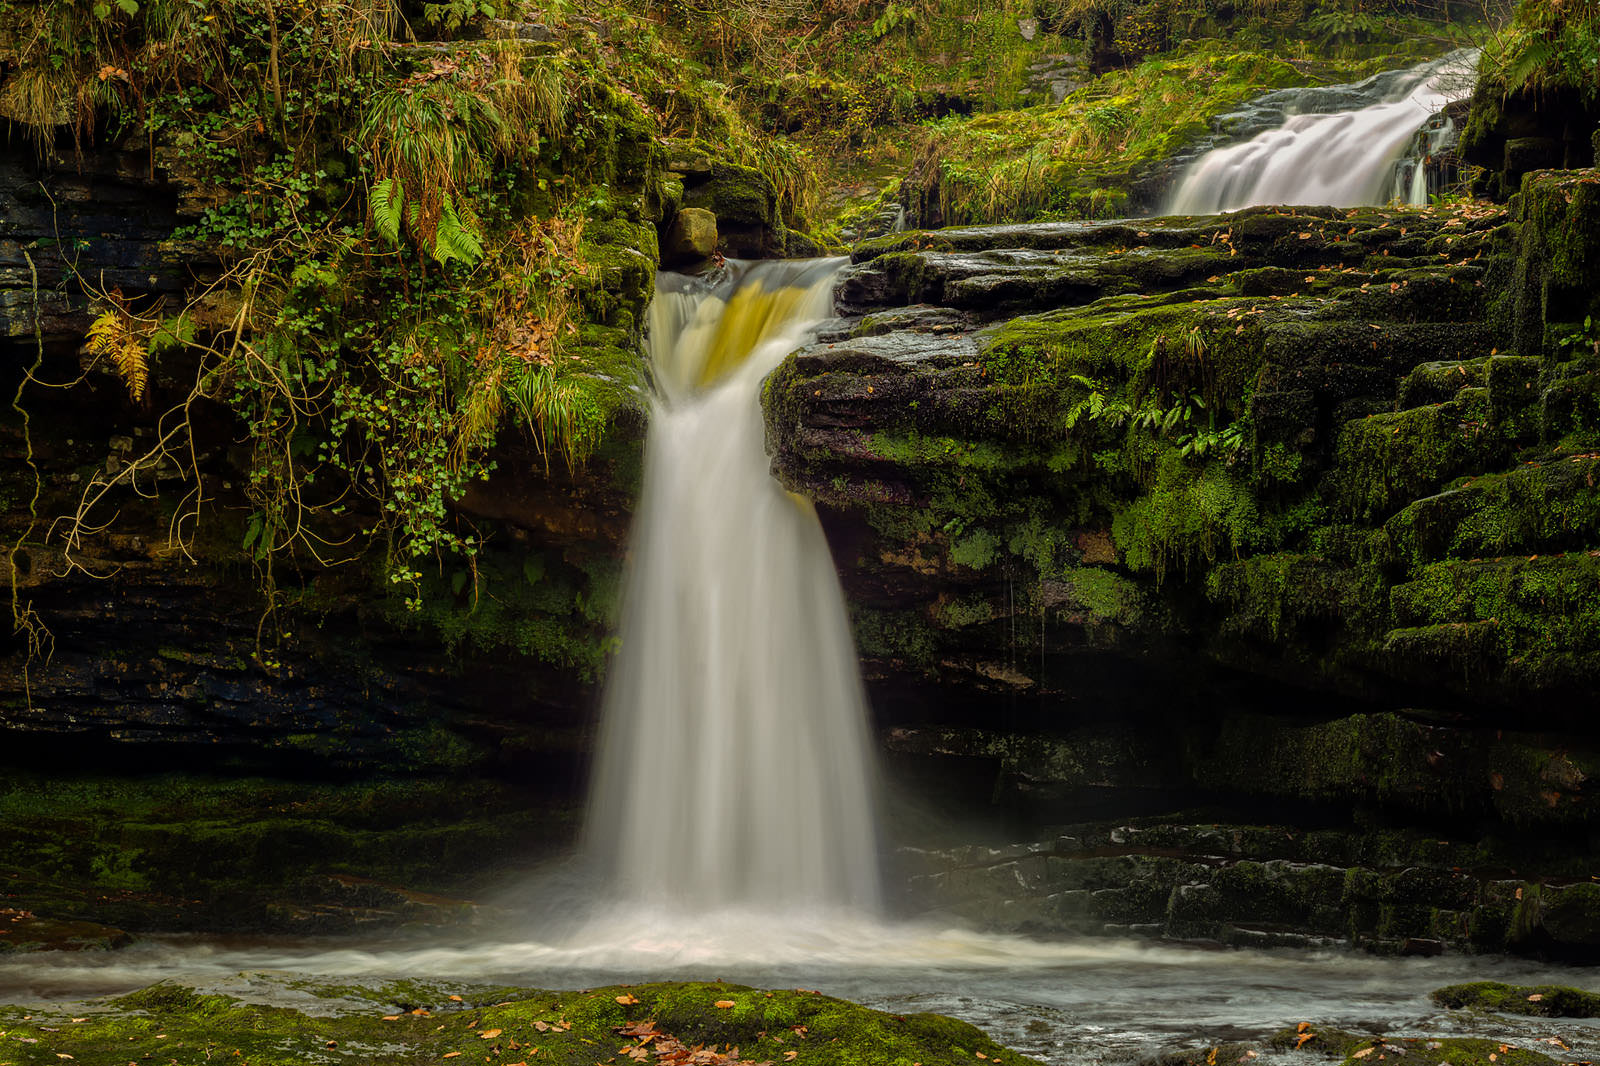
- Waterfalls of Ystradfellte
- Canon 7d Mark2 Camera used:
- Tokina 11-20mm UWA Lens used:
- 15mm Focal length:
- f/11 Aperture:
- 400 Exposure time:
- 100 ISO:
Photographing the Ystradfellte Waterfalls - Wales
This weekends adventure with Mark Waidson to Ystradfellte Waterfalls was complimented by the addition of Worcestershire based photographer Clive Griffiths to our band of merry snappers, just over an hours drive later, a full days hiking through woodlands of the Coed-y-Rhaeadr with long exposure waterfall photography lay ahead.
Nestled into the southern slopes of the Fforest Fawr massif, west of Merthyr Tydfil, Waterfall Country is one of the most beautiful and popular parts of the Brecon Beacons National Park and the forest Fawr Geopark, with steep, tree-lined gorges, deep underground caves and an abundance of tumbling water. The stunning Waterfalls of Ystradfellte are perfect for long exposure photography with circular polarises and filters.
From the moment the car stopped and and the hike began the going was tough. A short path lead from the car park on to the top of the waterfall course, however, the shear volume of footfall this location receives on a weekly basis means the pathways and tracks are in a constant state of thick slippery mud. This location wasn't for the unfit either. To reach each waterfall along the trail requires the constant walking up a few hundred feet only to cross over 20 of 30 feet then to descend again down to the water course. It certainly was a work out, especially when laden with a full sized tripod and camera gear. It was during this upping and downing that Clive received the affectionate title of 'Mountain Goat' as he bolted on ahead of Mark and myself.
Photographing Waterfalls
The numerous waterfalls and the dappled light through the forest canopy lends itself very well to some long exposure photography, and gives you plenty of opportunity to try out your polarising filters and big stoppers. In several locations, it's even possible to wade out into the water to get much lower angle shots of the waterfalls, however care must be taken, from a photographic point of view as not to get copious amounts of welsh water splashing up against your lens and filters but also, from an health and safety standpoint, if there has been some heavy rain in the days preceding your visit, you can expect the streams, rivers and gorges to be flowing very fast.
Due to the beauty of the Waterfalls of Ystradfellte and the surrounding woodland, its very popular with fellow photographers, walkers and the public at large who are out and about for the day. The narrow and steep pathways call for a degree of common sense when traversing and passing other people. So do bare this in mind as there can be some precarious steps to make.
Top 10 tips for photographing Waterfalls
These are my top ten tips for photographing waterfalls, If you feel that I have missed anything, or you have something you would like to add please let me know in the comments below and Ill be happy to update the post to reflect your submission.
1. Local Weather Forecasts
Weather forecasts play a huge part in planning a successfully outdoor photography shoot, it can have an have dramatic effect when photographing waterfalls as compared to some other subjects like Architecture. Typically, photographing waterfalls on bright, sunny days can be problematic as the highlights in the water can be easily blown out and strong glare and specular highlights can plague the image in post production and then there is the dreaded unnoticed reflections. Therefore, when planning to shoot waterfalls i find its best to look for cloudy, overcast weather where the colours of the landscape surrounding the waterfall will look much richer and detailed.
2. Location Research
Before heading off to shoot a waterfall you should research the location as best you can, Many waterfalls are surrounded by high rock walls or cliffs, and are located in narrow passageways and gorges, so there is typically a lot of trees blocking much of the incoming light. When researching the location try to work out the direction of the sun and the fall of its light for your given day/season. As a photographer you will, want to work in the best light you can get, which generally means the hours around sunrise and sunset, also known as the golden hours are best. But don't rule out mid day, especially if the location is in a gully or narrow gorge. Using tools such as Google Maps, Google Earth, Photo Pills and The Photographer's Ephemeris, you can get a good idea of the landscape that you will be shooting the waterfall in. As always, If it is your first time visiting a particular waterfall or new location, be sure to find out in advance any dangers or risks involved and any trespass laws that might be in place.
3. The correct equipment
When photographing waterfalls the most important piece of gear, aside from your camera and lens, will be your tripod. With nearby cliffs and trees blocking a lot of light you are likely to need a shutter speed that will require a tripod so that you can expose for a sharp photo. Often with waterfall photography you may wish to use slower shutter speeds to blur or soften the moving water, again a solid and stable platform to shoot from which a tripod provides is ideal. If you don't have a tripod you may find some suitable rocks or logs in which to support your camera on or against. Be careful though as not to risk dropping your expensive camera gear into any water.
If you plan to use slow shutter speeds in order to capture long exposures you may also want to have a neutral density filter that will reduce the amount of light reaching the senor. This is particularly useful, if your location is a little more open and a fair amount of light is reaching the scene. Getting the blurred silky water look is very popular and is relatively easy to accomplish. using a quality ND filter is helpful if this is your goal. However, you can often use a slow enough shutter speed, light and camera depending that will soften the water even without an ND filter. You should aim to use the lowest ISO that your camera will allow and a small aperture like f/16 to f/22+ to slow down the shutter speed enough, thus allowing the water to move through the scene creating that dreamy blur to the waters movement. Of course, all of the exposure settings that you’ll use and their impact on blurring the water will depend on the lighting conditions, but since many waterfalls are in darker areas you may not even need an ND filter at all!
Reducing reflections
A polarising filter is also a great piece of photography equipment to have in your camera bag, regardless if you are shooting waterfalls or architecture at times you will want to reduce the amount of reflected light entering your camera. The added bonus of using a poloriser is that the colours in your image will appear more saturated and rich. Depending on how close you are to the waterfall It’s also a good idea to have some lens wipes, a microfiber cloth, and maybe a towel with you to keep you gear clean and dry in misty conditions or where the spray of the crashing water is saturating the air.
4. How important is the sky?
One of the downsides to shooting on cloudy or overcast days is that you may be working with very boring skies of which in the UK we get more than our fair share. If the sky is not adding anything additional to your composition when shooting the perfect waterfall you may want to compose your shot to exclude the sky altogether and focus more closely on the waterfall itself. Pay particular attention to how the water cascades down and how it interacts with the rocks etc. Depending on the waterfall and it’s surroundings you may have options for shooting it from head on, from the side, from above, and in some rare cases you can even get behind the falls. Ystradfellte is perfect for this!
5. Discovering and incorporating interesting foregrounds
Whenever your shooting Waterfalls or landscapes Including foreground interest in your compositions is a good idea and habit to get into, having a decent foreground interest allows you to lead the views eye through the scene and give depth to the image. When photographing waterfalls it’s easy to focus only on the falling water and forget about the possibility or the need for foreground interest. At many locations you can include rocks, fallen trees, autumn leaves, or winter ice for foreground interest. Getting these interesting foreground elements in your foreground is easier if you are shooting from the bottom of the falls.
6. Experimenting with different shutter speeds & camera settings
Perhaps the most common question I receive about photographing waterfalls is what camera shutter speed should be used. When photographing a scene that includes moving water you have a choice to make, do you want the water to be frozen in time or do you want to smooth it out and create a dreamy ethereal effect to your image? Your shutter speed choice will have a big impact on the end result.
There is no single shutter speed that will works well for all waterfall shots, the speed of the water moment, the volume of the water and any floating objects such a leaves etc will effect the shutter speed to be used based upon your required results. However, without practise, in general you may want to start with a shutter speed of 1-2 seconds for a softening blur of the water and then work from there, either slow the shutter speed down by narrowing the lens aperture for softer looking water or speeding the shutter speed up with a wider aperture in order to freeze the movement of the water. Don't be afraid to experiment with much longer and shorter exposure times to see what suits your personal taste.
7. Difficult Lighting? Give bracketing a go
If your location is experiences extremes of light conditions, that is perhaps the top of the water fall is in direct sunlight with the foot of the fall sits in a shaded gorge you may want to to try exposure bracketing in order that you get a balanced exposure, the benefits of doing this is it allows you to merge 2 or more images into a single balanced image from an exposure point of view, and it also gives you the option of creating an High Dynamic Range image (more on this in another adventure). HDR photos of waterfalls also tend to blur or soften the movement of the water due to the blending of multiple exposures.
Many modern cameras DSLR's etc will automatically take your bracketed exposures to create an generated HDR image, in camera, although this isn't my personal choice of creating HDR's it does work quite well, if you are in a pinch. Obviously, you can also manually combine the exposures to get the best results using software like Adobe Photoshop
8. Getting closer to the waterfall
Sometimes to get the best shot you may need to get into the water (only do this if you are prepared with the right clothes, gear and are totally confident on the depth, speed and flow of the water, and do so, at your own risk, you are responsible for your own actions!). You may want to bring a pair of waders with you or at least some knee length wellington boots, also known as Gumboots, the former are often used for fishing. If you are using a Tripod, make sure it will be able to handle the conditions and is sturdy. I have seen too many photographers swimming downstream trying to rescue camera equipment that has taken a plunge, if in doubt stay out!
9. Protecting your camera, lenses and equipment
If you are getting up close to waterfalls you will need to be extra careful about protecting your gear. In extreme conditions you may need some sort of rain gear to protect your camera. I have used several brands but have found LensCoat Rain Coats to be very dependable You’ll may also want to use a filter to protect your lens. If you unsure, or a lacking a little confidence you may want to avoid using an expensive filter that can get damaged.
10. Seasonal variation in Waterfall photography
Just like other landscapes, waterfalls will look drastically different throughout the year. In the spring you may find lush green growth and rushing water from melted runoff and winter rains. In the autumn you can capture beautiful autumn colours, mist and fog mixed with fallen leaves on rocks. In the winter you may find ice and snow around the falls, and in some cases the falls may even totally freeze over. Its worth making an effort to re-visit the same waterfalls at different times of the year, but most importantly enjoy the opportunities provide your photography, regardless if the waterfalls you are shooting are big or small each one has something special to offer the adventure photographer.
Waterfall Country
Known in Welsh as Coed-y-Rhaeadr (Wood of the Water), Waterfall Country lies within the triangle formed by the villages of Hirwaun, Ystradfellte, and Pontneddfechan. Here, old red sandstone and a long belt of outcrop limestone have created a highly distinctive environment of wooded gorges, caves, swallow holes and waterfalls. More information can be found on the Ystradfellte waterfalls here http://www.visit-brecon-beacon...

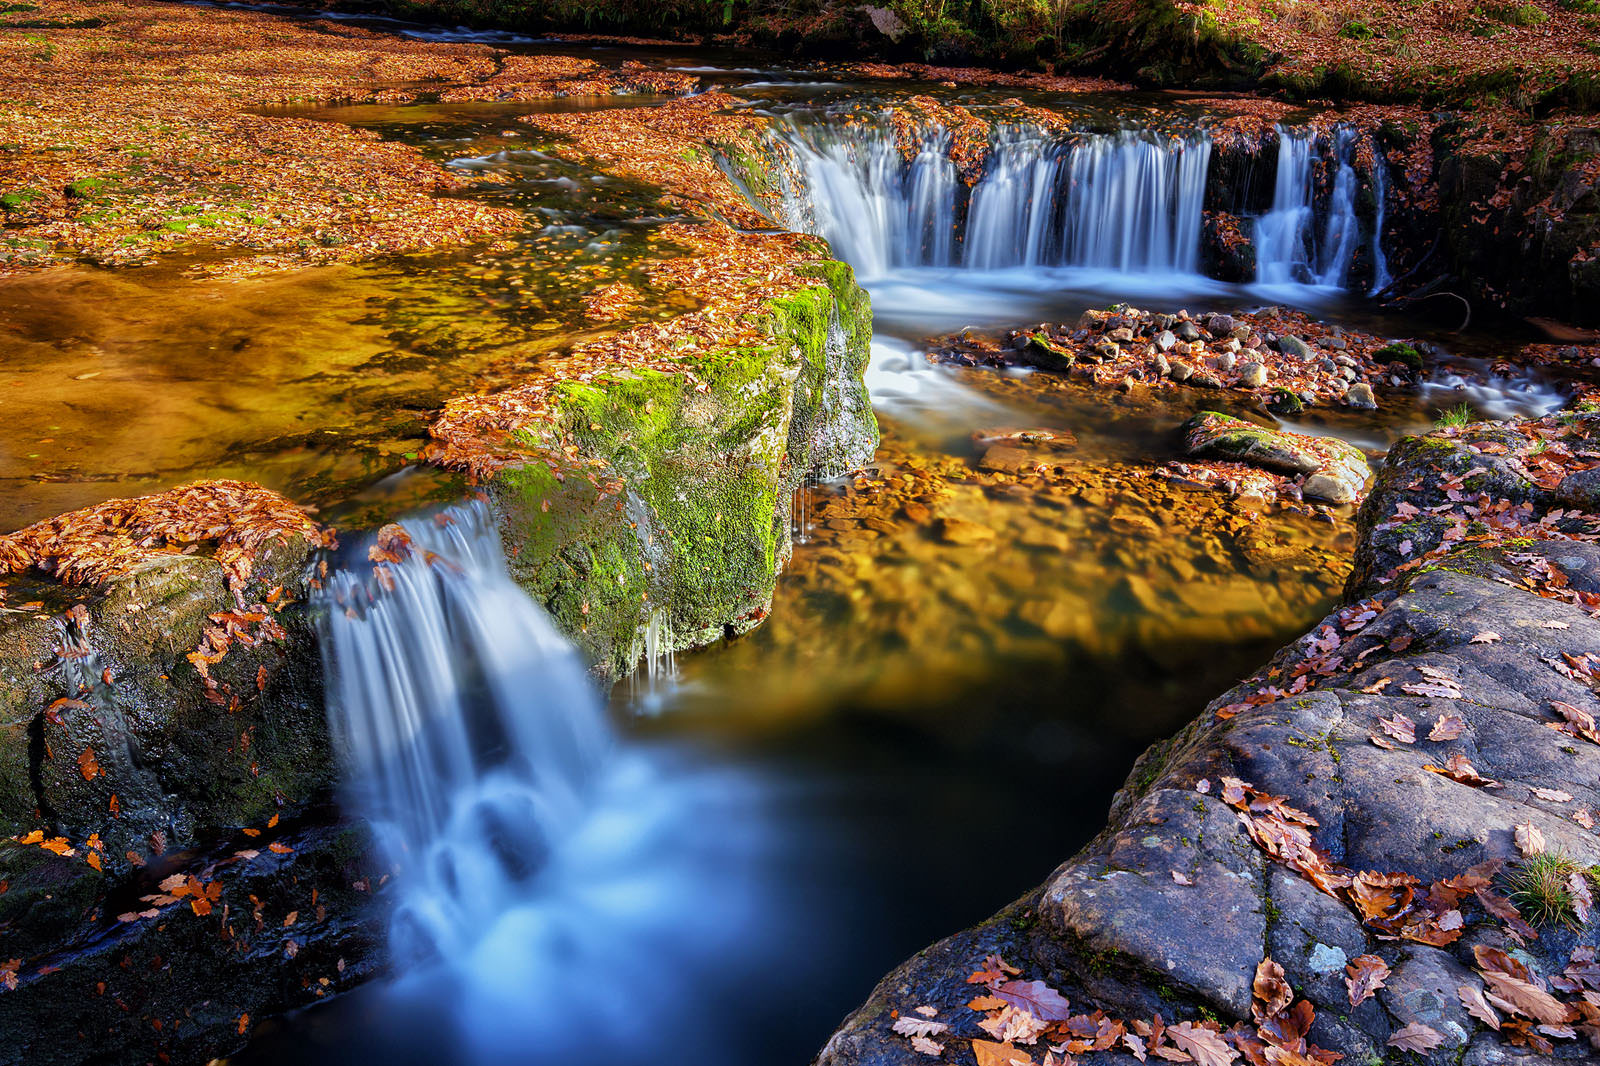
- Tumbling Water Falls
- Canon 7d Mark2 Camera used:
- Tokina 11-20mm UWA Lens used:
- 20mm Focal length:
- f/11 Aperture:
- 30 Sec Exposure time:
- 100 ISO:
Other Images from this adventure
How to get here
Enter your starting location on the box provided under the map to see the route from your starting location to Four Waterfalls Car Park, Wales
Recent Photography Adventures
Why not read about some of my other photography adventures around the UK


Leave a comment